Compressing a PDF on iPhone doesn't require a dedicated app download. Safari handles it entirely in the browser, and the process takes about a minute regardless of file size. The main challenge is getting the file into the browser tool and back out — the steps are straightforward once you know where to look in iOS.
Using a Browser-Based Tool in Safari
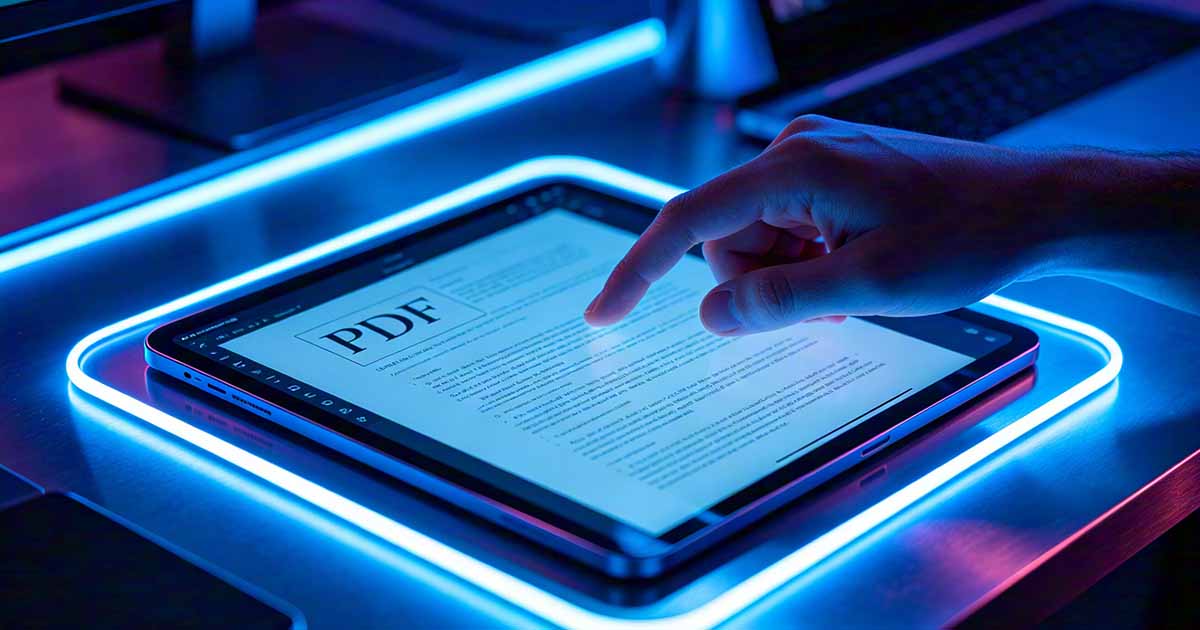
Open Safari and go to a browser-based PDF Compression tool — WukongPDF works directly in Safari without any app installation. Tap the upload button, and iOS will open the file picker. Navigate to where your PDF is stored: Files app (iCloud Drive, On My iPhone, or any connected cloud service), or tap "Browse" to find it in a specific location.
After the PDF uploads, the tool processes it and presents a download link for the compressed version. Tap the download — iOS will ask where to save it. Choose "Files" to save to your Files app, or select iCloud Drive to save it to the cloud. The compressed file is now on your device and ready to share.
Finding Your PDF in the Files App
If you're not sure where your PDF is stored on iPhone, open the Files app and check three locations: iCloud Drive (the default save location for many apps), On My iPhone (local storage), and any cloud services you've connected like Google Drive or Dropbox. PDFs received in Messages usually end up in the Downloads folder inside On My iPhone. PDFs received in email may need to be saved to Files first — tap and hold the attachment, then tap "Save to Files".
The Built-In Reduce File Size Option
iPhone has a built-in option for PDFs created through iOS's print-to-PDF workflow. Open the PDF in Files, tap the Share button (box with arrow), and look for "Print." In the print preview, use the pinch-to-zoom gesture on the preview page — this opens a full-screen PDF preview with a Share button that exports a compressed version. It's a hidden feature that works specifically for PDFs viewed in Files.
This method doesn't give you control over compression level — iOS applies its own settings automatically. The resulting file is often significantly smaller, but for fine-tuned control over quality vs. size tradeoffs, a browser tool gives you more options.
Sharing the Compressed PDF Directly From iPhone
Once the compressed PDF is saved to your Files app, sharing it is the same as sharing any file on iPhone. Open Files, find the compressed PDF, tap and hold it to get the context menu, and tap Share. From there you can email it, send via Messages, share to WhatsApp, AirDrop it to a nearby device, or upload it to a cloud service.
When emailing directly from the Mail app, iOS sometimes asks whether to send the full-size file or a smaller version if the attachment exceeds a certain size. For PDFs you've already compressed, choose the full size — the compression has already been done, and applying iOS's additional automatic reduction on top can reduce quality further without meaningful size benefit.
When the PDF Is Too Large to Upload
Browser-based tools typically have upload limits of 50-200MB. Most PDFs fit well within this range. If yours doesn't — a very large document with many high-resolution images — try the iOS built-in method first (the print preview trick above), which doesn't have an upload limit since it processes locally. If that's still not enough reduction, you may need to move to a desktop to compress a file that large.
For PDFs received from a computer that need to be compressed before sending from iPhone, a simpler workflow is often: compress on the computer before transferring to iPhone, rather than transferring a large file to iPhone and then compressing there. The end result is the same and desktop tools generally have fewer upload limits to worry about.